Installation and Assembly
Assembly
Please check that your package contains:
- 4 screws
- 4 male sleeve connectors (Part A)
- 4 female sleeve connectors (Part B)
- 1 Left upright
- 1 Right upright
- 1 frame cross piece
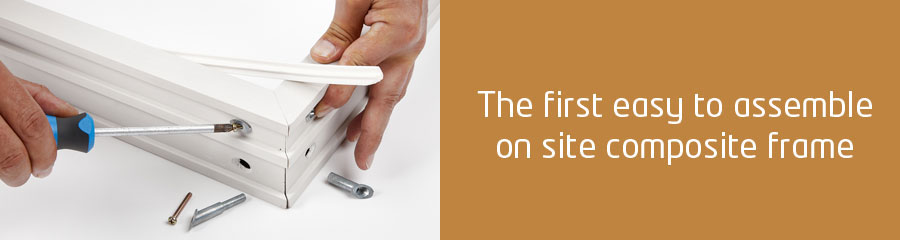
Remove packaging and place the uprights and cross piece in formation on a flat surface so that the 45 degree cuts are aligned Peel back the rubber seal at the tops of the uprights and on either end of the cross piece.
- Place the female sleeves (Part B) into the pre drilled holes on the left and right upright
- Place the male sleeves (Part A) into the holes in the cross piece so that they connect with the female sleeve in the upright
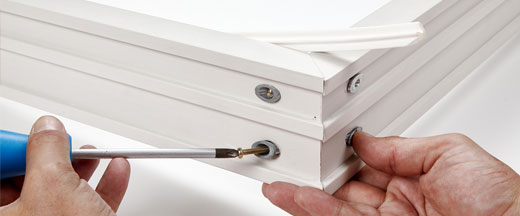
- Fasten the screws from the male sleeve in the cross piece to secure the frame
- Cut the rubber seal as required and clip it back into place
Installation
4 Everframe is installed in a similar way to a timber door frame. 4 Everframe can be installed either while building the walls or can be fitted at a later stage. Options for installing 4 Everframe include the following:
- Drill through door frame and rawl bolt or Hilti frame into the masonry. Plug when finished.
- Screw a 90 degree bracket onto the top and bottom of the frame and fix this to your floor and lintel / brickwork
- Screw a piece of hoop iron onto the outside of the door frame and bend this between brickwork
- Foam frame in position
General Information
- 4 Everframe can be painted or left in its natural colour
- 4 Everframe can be cut, drilled or screwed as you would do for a natural timber door frame – do not attempt to nail.
- When hanging a door on 4 Everframe, the method is identical to hanging a door on a timber frame, and you can chisel out to a maximum of 3mm for the hinges and striker plate.
- Butt hinges or sinkless hinges may be used